It’s getting to that time of year again when crafters start thinking about Christmas and all the incredible seasonal things we can make to celebrate.
We decided that our first Christmassy project was how to make winter snowflakes with the Cricut Maker.
It’s a quick and easy tutorial that requires minimal materials and the design is free if you have a Cricut Access subscription.
Let’s get right into it….
Post Contents
What You Need
Materials
- 3 x white cardstock (12″ x 12″)
- 3 x light blue cardstock (12″ x 12″)
- 3 x dark blue cardstock (12″ x 12″)
- 1 yard string/ribbon/thin wire
Tools
Video Tutorial
We know that some of you prefer videos instead of reading through a whole tutorial, so take a look at our craft cutting intern having a go at this project!
Find the Project on Cricut Design Space
Open up Design Space and search in Cricut Access for ‘Hanging Snowflake’ which will take you straight to the project.
What is Cricut Access? From just $7.99 a month, Access members get unlimited access to over 400 fonts, over 50,000 Cricut images and 10% off on all product purchases on Cricut.com (including machines!)
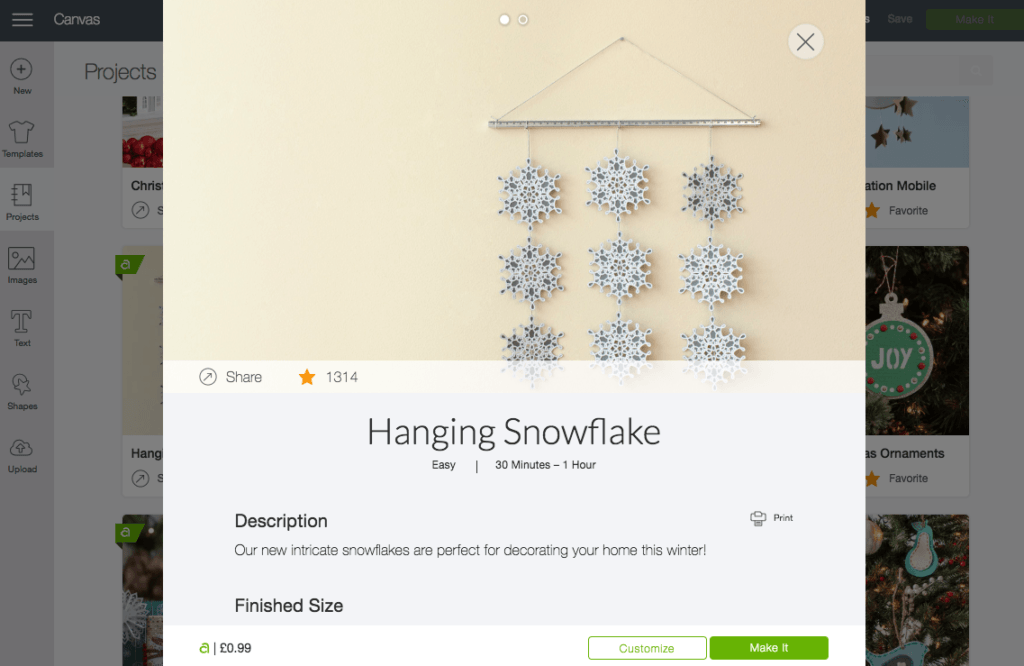
You should be brought to this page:
You’ll see that there’s a few changes we’ve made from the original project, and you should feel confident in adjusting the details too if you wish.
For instance, we’ve done away with the ruler/dowel as we wanted to hang them separately from our fireplace, and we’ve chosen blue tones instead of grays to give the design a bit of pizzazz!
Click on ‘Make It’ in the bottom right hand corner in order to get started.
Time to Cut
Your Cricut canvas will then show you how many mats to prepare for the project — 7 in total.
Here’s where you can adjust your material size for each mat — for instance, you’ll need to scroll down to 8.3″ x 11.7″ if you’re using A4 cardstock instead of 12″ x 12″.
Once you’re happy with how the mats look on the canvas, press ‘Continue’ in the bottom right hand corner again.
Now the Maker will connect to your laptop and you’ll need to select the material you’re using for the project.
We chose Light Cardstock (60lb) but you may need to adjust this if you’re using heavier card or lighter paper.
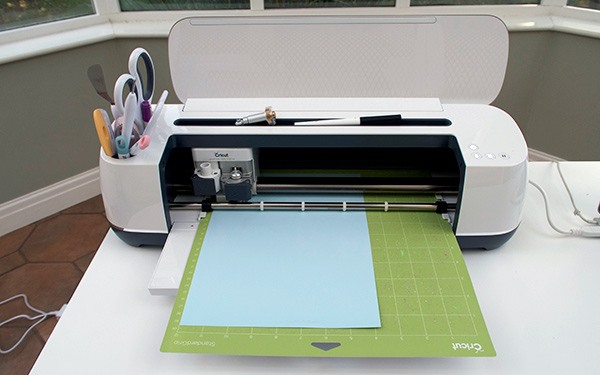
Once that’s completed, it’s time to load your mats, one by one, and let the cutting commence!
We selected ‘Fast Mode’ to really speed up the process although you may want to toggle this option off when it comes to the mats with the white cardstock — these cut patterns are particularly intricate and prone to tearing.
Be careful during the weeding process to make sure that you don’t end up tearing any of the delicate patterns either.
Assemble the Pieces
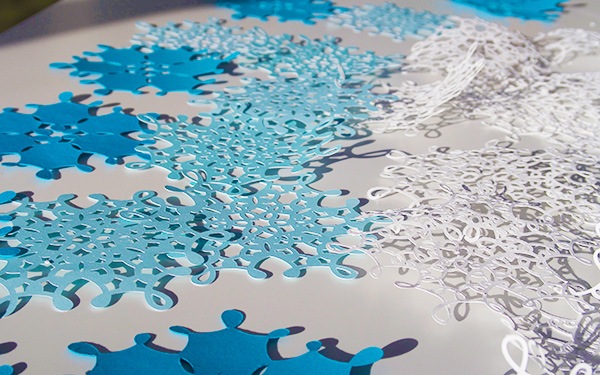
Once all the cutting has finished, you’ll be left with a whole load of snowflakes.
Something like this:
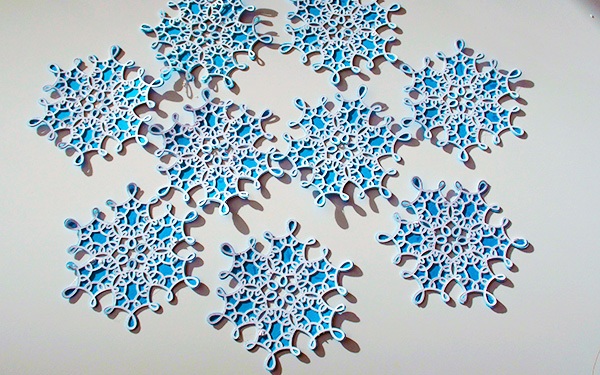
Using a glue stick or other paper adhesive, stick together the layers of each snowflake.
The dark blue is the base layer, the light blue the middle layer and the white the upper decoration.
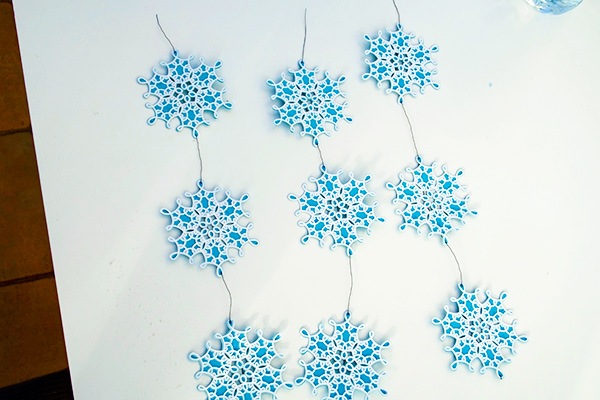
Eventually, you’ll end up with nine snowflakes in total, which should look something like this:
Pretty, right?
String the Snowflakes Together
Now it’s time to decide on how you want to present your snowflakes.
You could keep them true to the original project and arrange them in a neat formation where they hang off a dowel together, or perhaps you want to keep them separate and have them as tree decorations instead.
As you can see, we went for something in between: stringing them together in groups of three but hanging each group separately off the top of our fireplace.
If you’re stringing them together, we’d suggest taking a short piece of string, ribbon or thin wire and threading it through the snowflakes.
We did this by piercing small holes through the top and bottom of each flake (using the weeding tool) and sliding the wire straight through. Our snowflakes stayed in place as we were using wire but you may need to tie small knots at the bottom of each flake in order to keep them in place if you’re using ribbon or string.
Eventually, you’ll end up with this:
Hang Them Up!
The final stage in this quick and easy Maker snowflakes tutorial is to choose where exactly you want to hang them around your home.
For us, it was easy — above the fireplace.

Thanks to the snowflakes being comprised of three layers of card, they’re certainly robust enough to serve as individual tree decorations as well.
In fact, we’d love to try this project again with different color backgrounds (maybe bust out some glitter…) in order to get a whole snowflake rainbow going on our Christmas tree.
And there you have it — a quick and easy winter snowflake tutorial with the Cricut Maker.
Let us know what Christmas projects you’re going to be busting out with the Maker!
For more tutorials and guides aimed at helping you get the most out of your machine, be sure to visit our How To section.
