If you’re looking for some last minute Halloween decorations that you can easily rustle up with your vinyl cutter, you’re in luck — just check out these cute dot and chevron cardstock pumpkins!
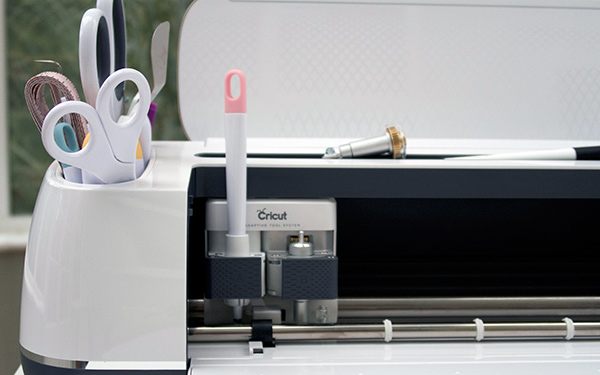
We made ours with the Cricut Maker, but any craft cutter that can carry a fine point blade and a scoring tool will do.
This is a super easy Cricut Maker tutorial that can be completed within a couple of hours at a leisurely pace, so there’s no worries if you’ve left your Halloween decorating as late as we have! 😉
We’ll take you through step by step.
See you on the other side…
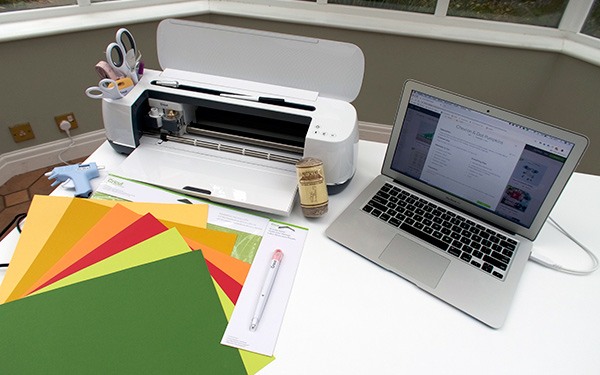
1. Gather Your Materials
Here’s what you need for this project:
- Cricut Maker/Explore Air 2
- Fine Point Blade
- Cricut Scoring Stylus/Scoring Wheel
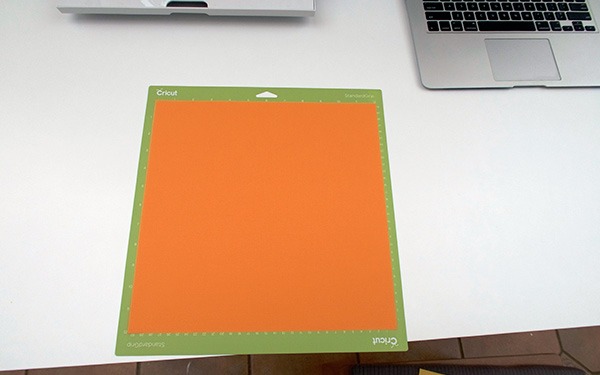
- StandardGrip Cutting Mat
- 8 pieces of cardstock:
- Stick adhesive
- Hot glue gun
- Twine
Did we have enough cardstock in the right colors to complete this project? No, we did not.
Were our pumpkins destined to be a combination of funky colors and one resemble something more like a tomato? Yes, they were.
Did we let that hold us back? No. We’re quirky; just go with it.
2. Find the Project on Design Space
If you want to take it super easy, you can find this exact design on Cricut Access.
Search for it inside the Design Space app and you’ll be brought to this page:
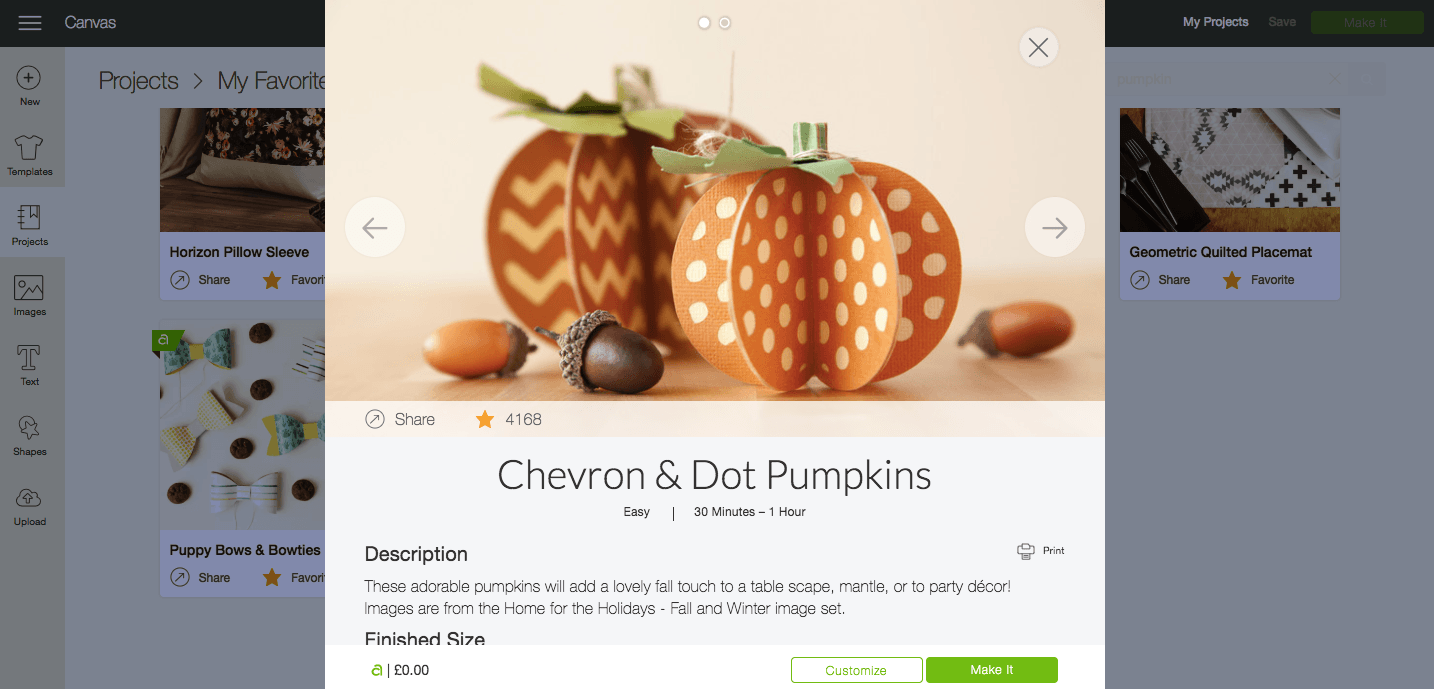
Of course, if you fancy changing up the patterns at all, you can certainly do that — just open up that canvas and adjust the designs to your own specifications. In keeping with our last minute theme, however, we’ll be sticking to the Cricut Access design.
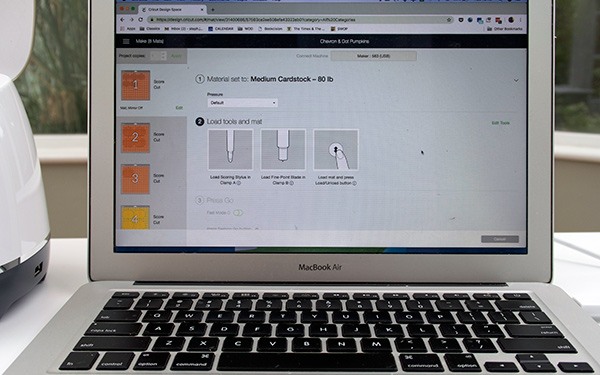
3. Load Your Mats
Despite this being a super simple tutorial, there are a total of 8 cutting mats that you’ll need to load for this project.
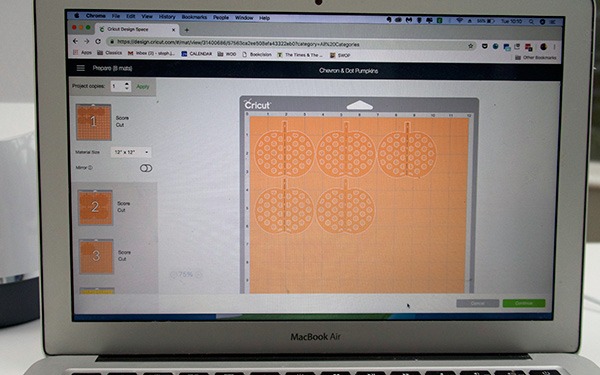
As you’re unlikely to have eight individual StandardGrip cutting mats lying about, you’ll need to apply each piece of cardstock to the mat, load each mat and weed each mat individually.
Sounds a little complicated when it’s all written down, but Design Space will walk you through the loading and unloading of each individual mat, and will start off by telling you what tools you require.
They recommend that you use the new Scoring Wheel, specifically designed for the Maker, but feel free to just use the original Cricut Scoring Stylus if that’s all you have. We used the original scorer and it worked a treat — simply select ‘Cricut Scoring Stylus’ instead of the wheel on screen before you start.
And let the cutting begin…
4. Weed the Cardstock
After each piece of cardstock has been cut, you’ll need to unload the mat and weed the cardstock off.
For the plain pumpkin shapes, you’ll be able to simply peel the card off, but it might prove a little more tricky for the dotted and chevroned pumpkins.
We’d recommend using a specialist weeding tool for this so you don’t end up accidentally tearing the card as you pull it off the cutting mat.
Something like an X-Acto Knife or even the Cricut Weeding Tool will perfectly suffice.
So this…
Will become this…

And you’ll eventually have this…

5. Glue the Layers Together
Next, you’ll need to use a simple adhesive that works on card and paper to glue each individual layer together.
First, the small dotted pumpkins should be glued to the small blank pumpkins and the small green stalks stuck on at the top.
And then, the large chevroned pumpkins should be adhered to the large blank pumpkins and the large green stalks glued on to the top.
Ta da!
6. Fold Along Scoring Lines & Glue Sides Together
Fold each assembled pumpkin side down the middle where it is scored, and then glue each blank side together to make a complete 3D pumpkin.
We’d recommend using a hot glue gun to adhere each side together to make sure that it truly sticks. This should keep the top of the stems together as well.
Just mind little fingers with a hot glue gun!
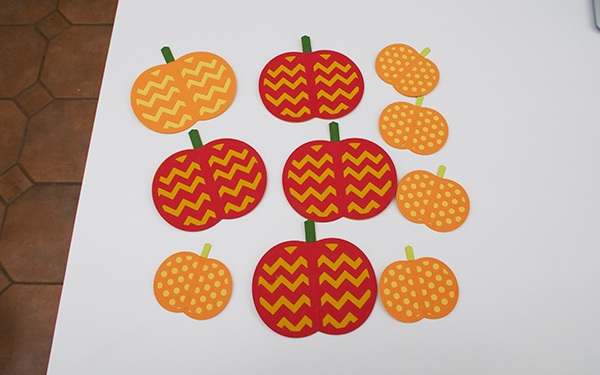
Eventually, you’ll end up with something like this:

7. Finishing Touches
In order to make these look extra special for Fall and Halloween, we want to add the finishing touches.
First, take a small piece of twine and wrap it around each pumpkin stem. You don’t want to use too much as otherwise it’ll completely cover the green color of the stem.
And then you’ll need to take the green leaves that you cut earlier with the stems and use that hot glue gun again to adhere them to the twine on the stem.
Will you take a look at these…

8. Video Tutorial
If you want to see how these are made in video format, take a look at our intern taking a bash at these.
If she can do it, anyone can…
Are you tempted to try making these Halloween pumpkins with the Cricut Maker?
For more tutorials and guides aimed at helping you get the most out of your machine, be sure to visit our How To section.