We know, we know… it’s only just the end of January. But there’s nothing we love more than Valentine’s Day crafts!
With that in mind, this week we’ve been experimenting with a challenging paper project on the Cricut Maker 3… a Valentine’s Day Sweetie Wagon.
Sporting a piggy bank-style slot in the top, this is the perfect vessel to stuff full of treats before giving to your paramour on February 14.
We’ve even put our intern to work so you’ve got a video demonstration of the project to help you along too:
Let’s get straight into it…
Post Contents
What You Need
- Cricut Maker/Cricut Explore Air 2
- Cricut Scoring Wheel/Cricut Scoring Stylus
- Cricut LightGrip cutting mat
- Spray adhesive
- Hot glue gun
- 4 brads
- 12″ x 12″ Cardstock:
- Light blue x 4
- Light pink x 2
- Dark pink x 1
- Red x 1
- Sweets!
Method
Find the Project on Design Space
The first thing you’ll want to do is head into Design Space and search for the project in Cricut Access.
Cricut Access is a $7.99 a month subscription which gives you access to over 50,000 images, hundreds of fonts and a bucketload of ready-to-make projects like this one. It’s one of the best ways to guarantee that you’ll make the most of your Maker.
Once you’re in the canvas view in Design Space, simply click on the projects tab and type in Valentine’s Mail Cart, which should bring you to this:
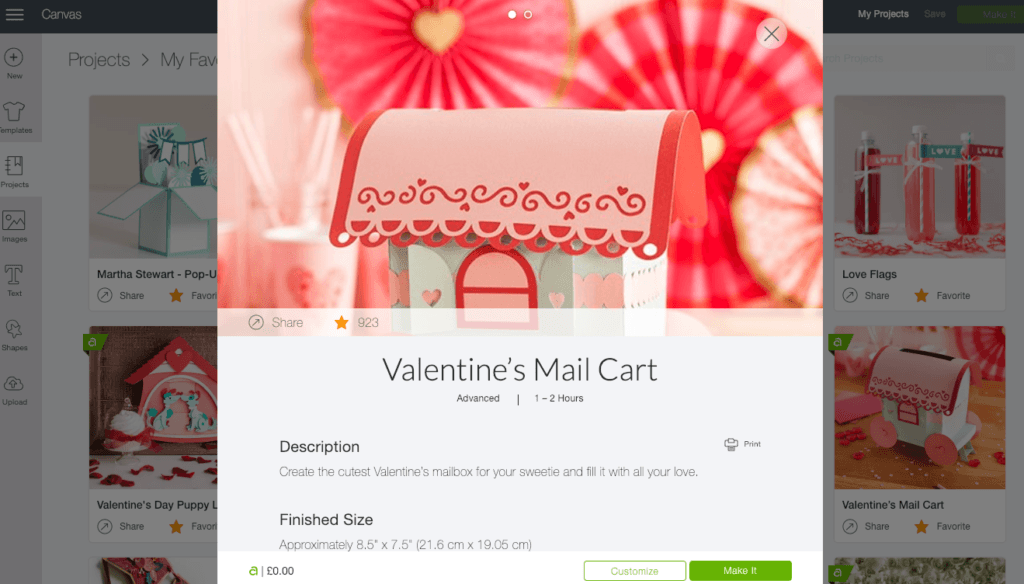
Click on the green “Make It” button on the bottom right of the screen, which will take you to the mat preview.
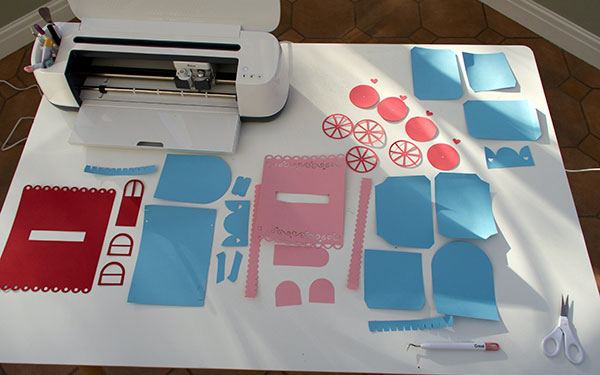
This will show a total of 6 mats that you need to prepare, cut and weed.
Simply follow the instructions on screen to prepare your mats and remember to select the correct material according to the weight of the cardstock you’re using.
Before you load your first mat, double check that you have the right blade installed. If you have the Scoring Wheel, you’ll be able to complete the project using just this — but remember to change this to the Scoring Stylus and Fine Point Blade if you don’t have this yet.
Now it’s time to load your mats and get cutting!
Weed the Project
Once all your mats have been cut and weeded, you should end up with something that resembles this:
Now it’s time to get gluing…
Construct Roof, Windows, Door and Wheels
This next part requires the use of adhesive spray, so make sure you put down some sort of cover over your workbench to ensure it doesn’t get too sticky in the process.
Firstly, you’re going to want to layer the light pink roof component over the slightly larger red one. Make sure that the slots are carefully aligned together!

For the windows, simply glue the red panes over the pink half-ovals, and then adhere them to the blue cut-out frame.
The door is simple too — just adhere the red frame to the pink background and add the little blue heart to act as a doorknob.
And for the wheels, it’s a simple case of gluing the pink spokes over the pink circles. Easy!

Put all these extras to one side now as we construct the body of the wagon.
Construct Wagon Body
Your first task here is to create the platform on which the wagon body will stand.
For this, you’ll need the largest blue rectangle. Fold along the score lines and then use a hot glue gun to adhere the tabs in correctly.
Next you’ll need to create the interior wagon using the four smaller rectangles — again, fold along the score lines and use a hot glue gun on the tabs to create a four sided box.
Put your glue gun to work again on the tabs on the underside of the box by gluing them to the top of the platform you created earlier.
You should end up with something like this:

Again, put this to one side as we create the exterior.
Using the remaining two blue rectangles and two half-ovals, you’ll need to construct the outside of the wagon. Again, simply fold down the score lines and glue along the tabs.
But before you slip the exterior over the interior frame, let’s get to work on the decoration…
Decorate the Wagon
First things first, take the two long, pink scallop pieces and glue them around the middle of the exterior wagon frame.
They won’t quite meet in the middle but don’t worry about that — your next task will be to glue the windows over their gaps.

Next, take the door component and glue it to the front of the wagon like so:

Before you glue the roof to the wagon, you’re going to need to take those blue scallop pieces and glue them to the interior walls. This part is a little tricky so we’d recommend starting in the center, then folding and gluing along the score lines as you go.
Once that’s all done, simply slot the exterior wagon over the interior frame on the platform.
You should be left with something like this:

Add the Roof
The next part is a little tricky too — adding the roof to the project.
You’ll again need to use your glue gun to adhere along the interior blue scallop pieces and then fold the roof over the top of it.
Press firmly as you fold for a couple of minutes so you can be sure that the roof is truly adhered.

Add the Wheels
The next part is simple — take each wheel and position them so the hole through the middle of their spokes is directly aligned over the hole in the wagon platform.
Affix them using brads.

Construct the Step
At this point, you should have three small blue cut-outs left over. These are to construct the step that will lead up to the front of your wagon.
Again, this is easy: simply fold down the tabs on the middle piece and use your glue gun to adhere them roughly halfway down the step sides.
Then fold down the score lines on the top of the sides and glue them to the underside of the wagon platform.

Fill with Sweets
You’re all done!
All that’s left to do now is to fill your wagon up with special Valentine’s Day sweets for your sweetie.
We hope we’re not remiss in recommending some Hershey Kisses…

Have you done any Valentine’s Day crafting with the Cricut Maker yet? 😍
For more tutorials and guides aimed at helping you get the most out of your machine, be sure to visit our How To section.