For our next Cricut Maker Christmas Project, we’ve made this beautiful festive garland.
It would look incredible draped over a fireplace or curtain pole, or even twisted and fashioned into a large wreath.
It’s not the easiest or quickest project we’ve ever set our minds to, but we can guarantee that the time and effort you put in will be more than worth it when you see the finished result.
We’ve compiled this step-by-step guide on how we made our Christmas garland, and we even got our intern to give it a go for you on video.
We’ve said it before and we’ll say it again: if she can do it, anyone can!
Let’s get straight into it…
Post Contents
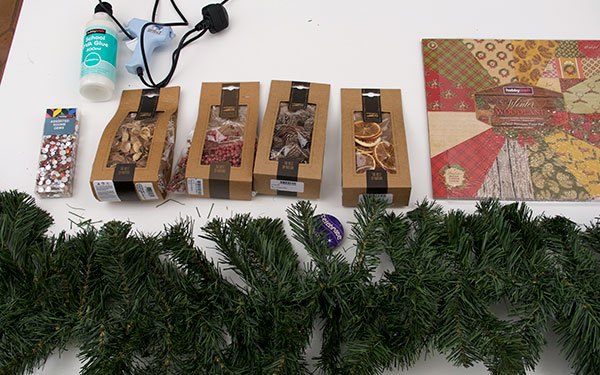
What You Need
- Cricut Maker
- Cricut StandardGrip Mat
- Cricut Scoring Stylus
- 11 pieces of Christmas themed cardstock, 12″ x 12″
- Artificial garland
- Dried orange slices
- Pine cones
- Cotton pods
- Multi colored gems
- Pepper berries
- Hot glue gun
Method
Find Shapes on Cricut Access
We found inspiration for our Christmas Garland while trawling Cricut Access, and we came across this musical wreath:

For those of you not in the know, Cricut Access is a subscription that gives you access to over 50,000 images and hundreds of fonts, as well as loads of ready-to-make projects, from just $7.99 a month.
Search for ‘music wreath’ and you’ll find this project, which will provide you with the rosettes and musical notes you’ll need to decorate the garland.
Cutting Time
There’s a fair amount of cutting with this project so make sure that you allocate yourself enough time to complete it — we’d say around 1 hour for the cutting alone.

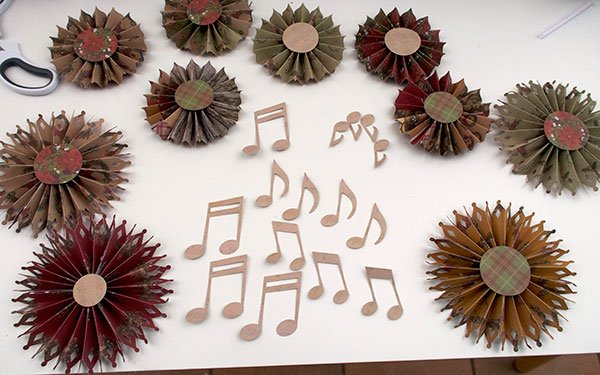
Simply follow the instructions on screen within Design Space and you’ll end up with the finished musical notes and all the separate pieces you need to create the rosettes.
Something like this:
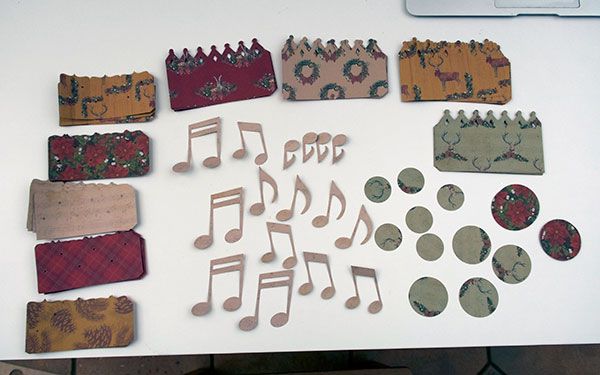
Each of those rectangular pieces is hiding 5 duplicates behind it as each rosette is made up of 6 parts.
Assemble the Rosettes
The trickiest part of the entire project, in our opinion, is assembling these rosettes.
Like we said above, each rosette is made up of 6 separate pieces and you’ll need to assemble them one by one.
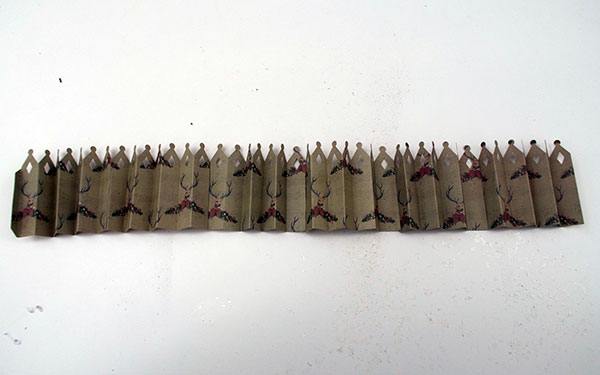
Your first task is to fold each piece along the score lines and glue them together in one long line. They should have a concertina effect once you’re done:
Then you’ll need to pull the two ends together to make a circle and, using a hot glue gun, adhere them together.
Then take two of the circles you cut earlier and affix them to the front and back of the rosettes to make sure that they stay in place.
And voilà:
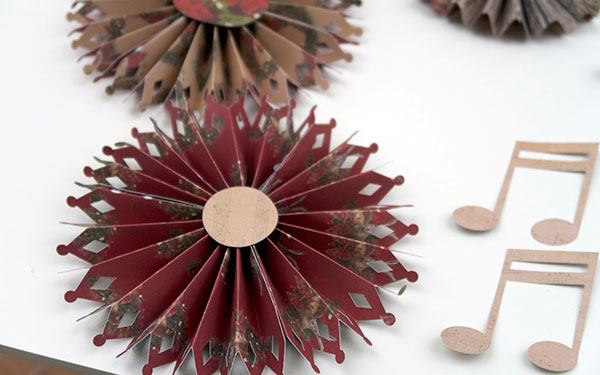
Do this with each of the rosette pieces in turn and you’ll end up with something like the following:
Decorate the Garland
Now that the tricky part is over, it’s time to have fun and to put everything on your garland!
To try and keep things looking even and not too eclectic, we’d recommend laying out each design element on the garland before you start using your glue gun.
This way you can make sure everything is in place and looking good before you commit.
Here’s what we came up with:

We’d definitely recommend playing with depth here — not everything simply has to be laid on top of the garland.
Make sure you push some of your elements further back into the branches and highlight other things nearby by bringing them forward
It’s also a good idea to leave the multi-colored gems until last as this way you can use them to fill in any blank spaces or highlight particular elements without being too overbearing as they’re so small.
Hang It Up
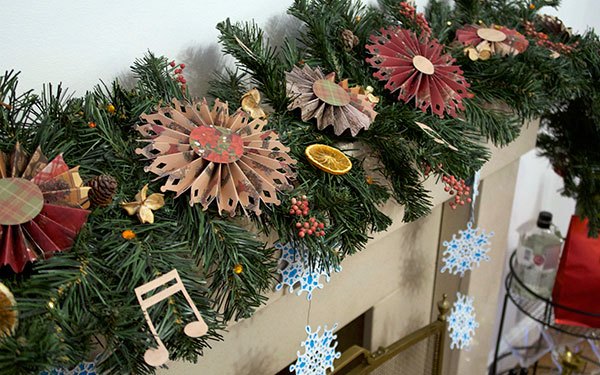
Your final task in the Christmas Garland tutorial is to hang it up.
Ours is taking pride of place on top of the fireplace:
Have you made a Christmas garland? Let us know your top decorating tips!
For more tutorials and guides aimed at helping you get the most out of your machine, be sure to visit our How To section.