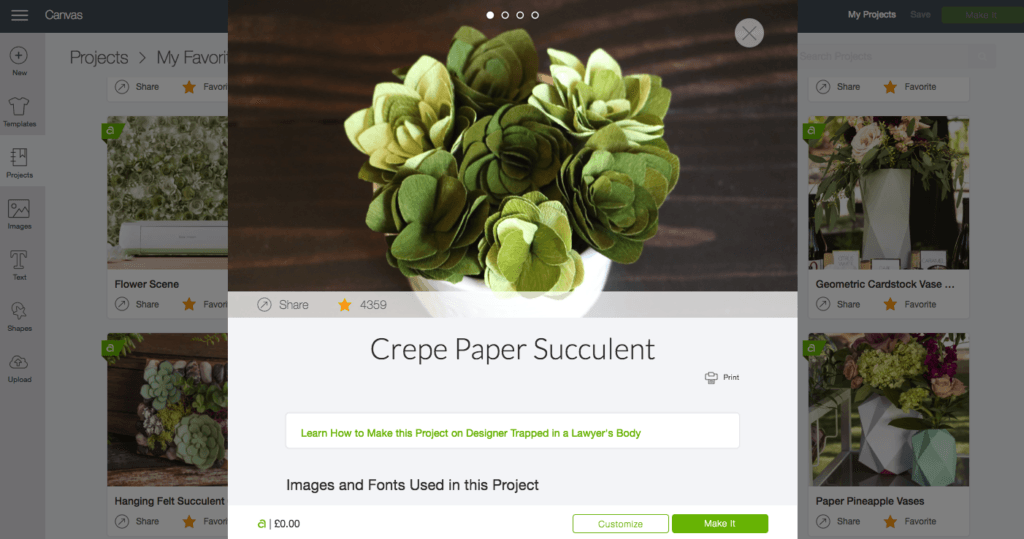
This week we decided to test out the Cricut Maker with crepe paper — a notoriously delicate and difficult material to cut.
We found the Crepe Paper Succulents project in Cricut Access, originally made by Designer Trapped in a Lawyer’s Body.
Looks good, right?
Read on to find out how we got on, and top tips for ensuring your crepe paper isn’t ripped by the Cricut Maker.
But first, check out the video of how our intern got on with this project…
Post Contents
What You Need
- Cricut Maker
- Rotary Blade/Scoring Wheel
- FabricGrip Mat
- Light and dark green crepe paper
- Cricut Tweezers
- Adhesive
- Pot
- Mica stones
How to Make Crepe Paper Succulents
Find the Cut File on Cricut Access
If you’ve got a Cricut Maker, one of the best ways to guarantee that you make the most of the machine is to purchase a Cricut Access subscription.
From just $7.99 a month, you get access to over 50,000 images, hundreds of fonts, as well as a huge number of ready to make projects.
To find the succulent cut file, open up the canvas in Design Space and search for “succulent” in the images tab. You’ll want the second result that shows up:
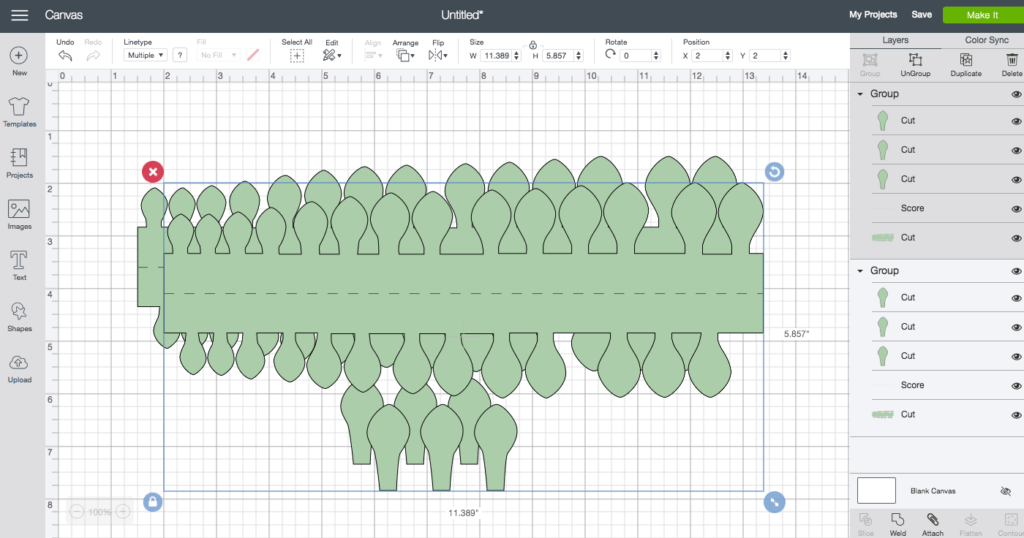
Select the image and click “insert images” in the bottom right hand corner. In order to make the most of your material, we recommend copy and pasting the image so you’ll have two cuts per cutting mat instead of just one.
Your canvas will look like this:
Then click on the green “Make It” button in the top right hand corner, which will take you to the cutting mat preview screen:
In the top left hand corner, you’ll see an option to make copies of the cutting mat — you’ll want to adjust this according to how big the pot is that you’ll be ‘planting’ them in. For reference, we did 6 copies of the cutting mat, which created 12 individual succulents.
Next you’ll need to click the green “Continue” button in the bottom right, which will then start the process of connecting your computer to the Cricut Maker.
Remember to select “crepe paper” as your material.
A Quick Note about Tools
Before you start the cutting process, you’ll need to select which tools you’re using.
Design Space will automatically preselect the Cricut Scoring Wheel, but if you don’t have this yet, you’ll need to select the Scoring Stylus and the Rotary Blade.
We would actually warn against using the Scoring Stylus with such a delicate material as crepe paper — we found that it just tore the cut in half, which is not what we want! In the end, we decided to forgo the Stylus altogether and just install the Rotary Blade.
That means you won’t have the scoring lines to fold against when it comes to constructing the succulents later, but we found that the cuts are small enough that this wasn’t a massive problem.
Cutting Time
Once you’ve inputted all the data about your material and tools, all you need to do now is start the cut.
Ready your cutting mat with a 12″ x 12″ sheet of crepe paper, load it into the Maker and press the flashing Go button.
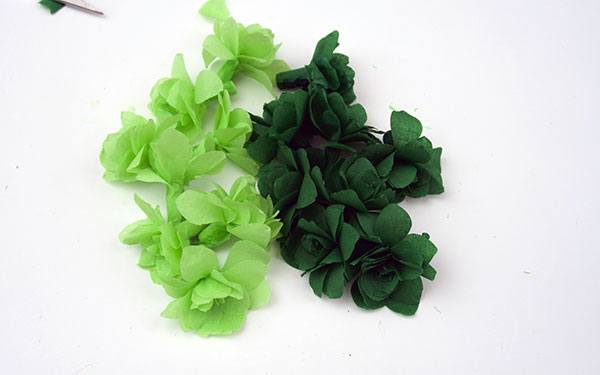
We suggest alternating light and dark green crepe paper so you end up with roughly equal numbers of both colored succulents.
Weeding
Once your cuts have been made, you’ll need to carefully weed them from the FabricGrip Cutting Mat.
As crepe paper is notoriously delicate, we’d suggest using a specialist tool for this job — we used a combination of light fingers and the Cricut Tweezers.
And remember to weed them gently from the mat:
Fold Cuts in Half
This next step will be a little easier if you’ve used the Cricut Scoring Wheel during the cutting process as it will have scored a fold line directly down the middle of the cut. Simply fold along the scores.
If not, you’ll need to fold each design in half, so you’ll end up with the following:
Construct Each Succulent
Now it’s the fun part!
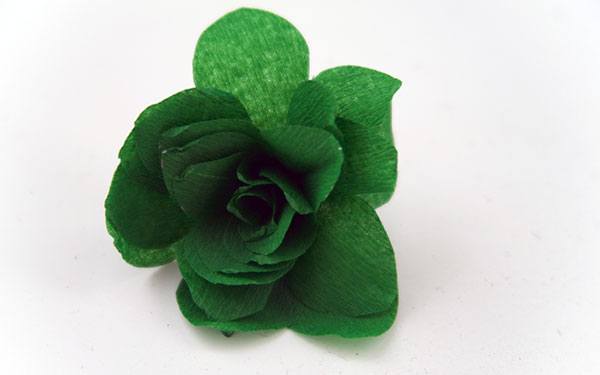
Take your tweezers and grip the end of one succulent length, and then slowly and carefully wrap the length tightly around the tweezers.
Once the entire length has been wrapped around, use a little adhesive to stick the ends together and gently pull out the tweezers.
We’d recommend watching the video at this point (at the top of the page) in order to make sure you’re following along.
Do this for each cut until you end up with a number of individual succulents.
Prepare Your Pot
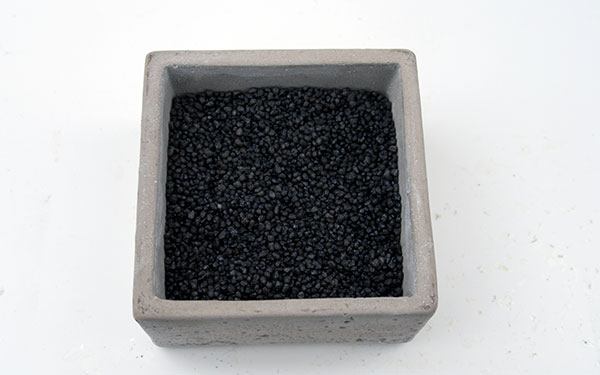
It’s time now to prepare your pot for the succulents by filling it around three quarters full with mica stones, pebbles or the vase filler of your choice.
Here’s what ours looks like:
Plant Your Pot
The final step in making crepe paper succulents with the Cricut Maker is to plant each flower individually in the pot.
Make sure that each has enough room to bloom and that they’re not packed in too tightly.
You can even vary their heights a little to provide a little more visual stimulation.
And there you have it!
Have you tried making crepe paper succulents with the Cricut Maker yet?
For more tutorials and guides aimed at helping you get the most out of your machine, be sure to visit our How To section.
