We’re starting a series of Cricut Maker tutorials that are perfect for beginners — and we’ve even got our own craft cutting beginner intern to make these pieces alongside you.
If she can do it, anyone can!
This week, we’re making super cute double-sided neckties for your dog.
We’ve actually adapted it from the ‘Kitty Collar Bandana’ project that’s available on Cricut Access.
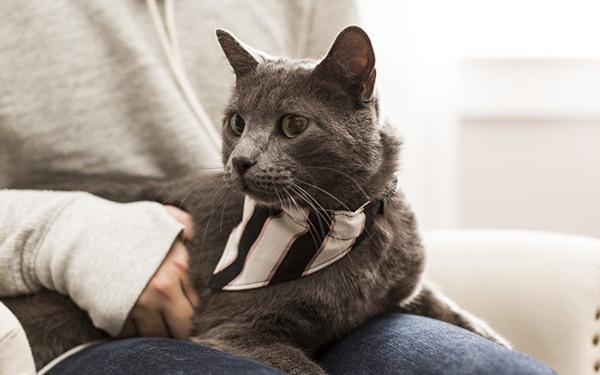
The VinylCuttingMachines dogs are small and don’t like having anything tied around their necks, so we kept the size of the bandana at small kitty size in order to fasten them to their collars.
Let’s see how we got on…
Time for Design Space
Firstly, you’ll want to launch Design Space and find the project, then open it up within your canvas.
You’ll see that it details exactly what preparation you need to complete before you get started, including…
Ready Your Materials
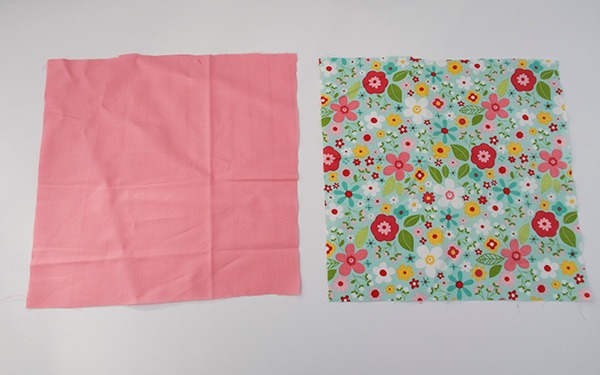
Now it’s time to choose your materials — remember that the bandanas are double sided so you’ll want to choose both sides carefully.
We bought the Garden Girl sampler set from Amazon for this project as it has such lovely bright colors.
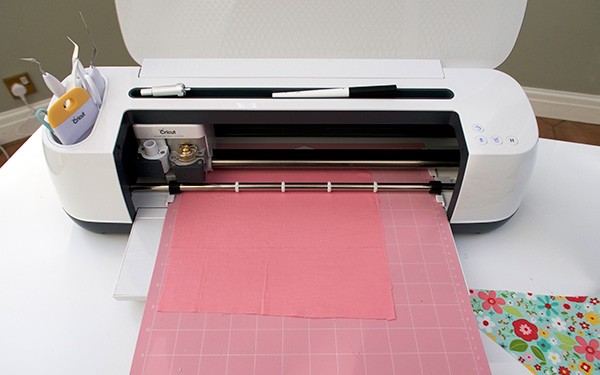
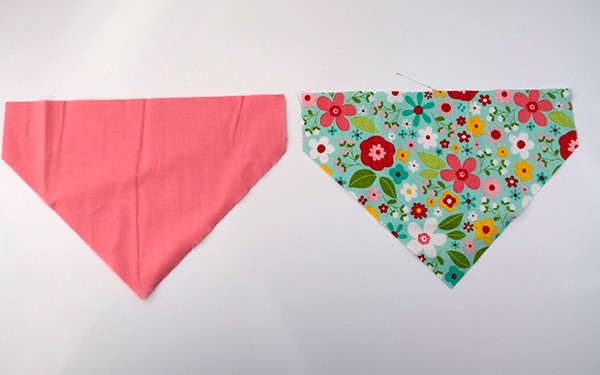
We picked out the floral sampler for the front of the necktie and the bright pink for the back, and then cut them down to around 9″ x 7″.
Place on the Mat
Time for cutting!
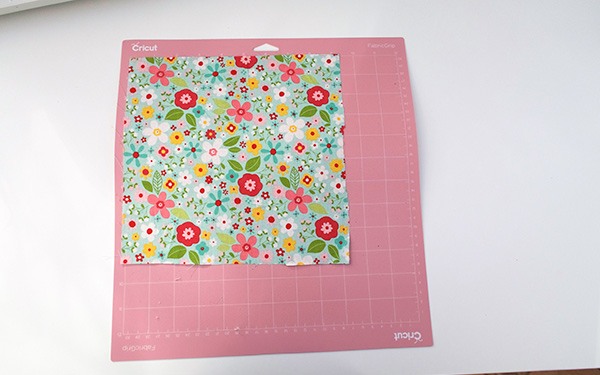
Apply the first piece of fabric to the FabricGrip cutting mat, making sure that the left edge lines up with the left edge of the adhesive area and that the fabric is stretched flat with no creases or air pockets.
Calibrate the Settings
Now it’s time to tell the Cricut Maker exactly what you want to do.
If you’ve got the Kitty Bandana project open in your canvas, you’ll see this on your screen:
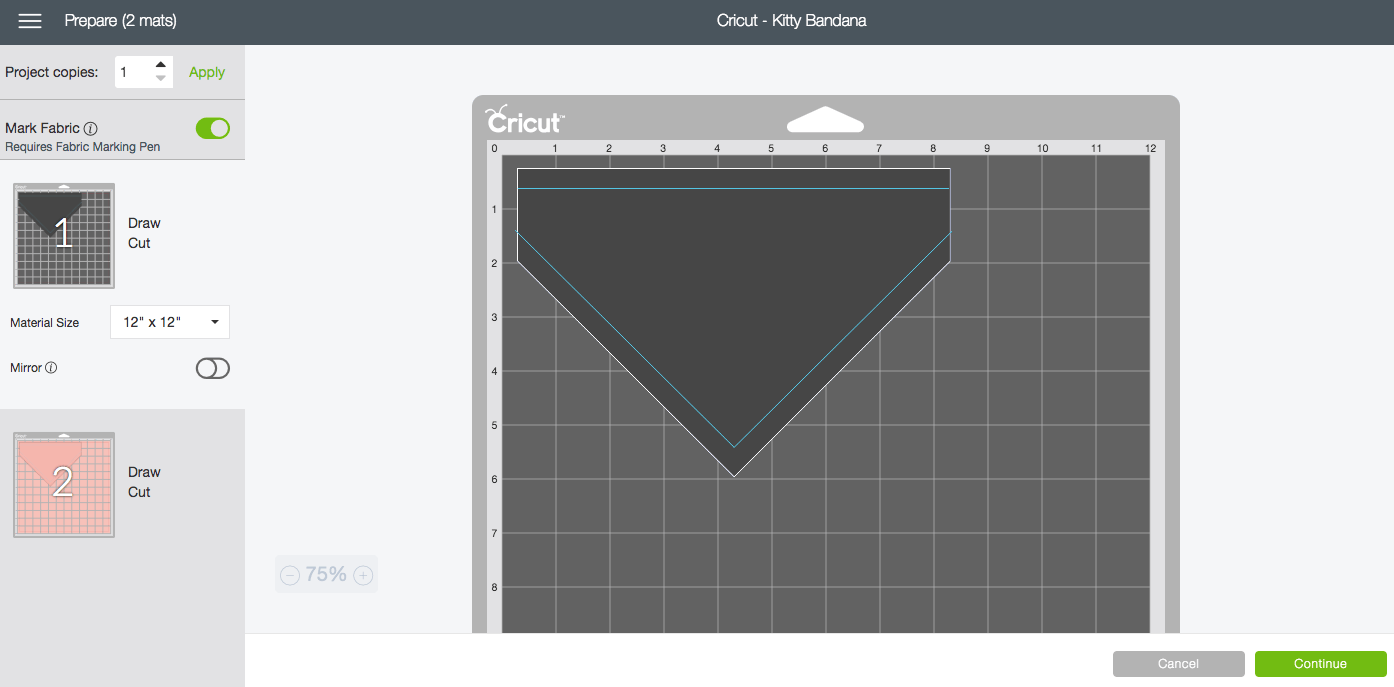
You’ll see on the left hand side that there’s an option to use a fabric marking pen — make sure to toggle this off if you don’t have it.
We definitely recommend using the Cricut Washable Fabric Pen as this way it’ll mark the exact lines that you need to sew across latter.
Click the green Continue button in the bottom right hand corner of the screen and this will take you to a new page where you’ll need to select your material.
We chose ‘Fabric – Cotton’, as per the instructions on the Cricut Garden Girl sampler.
Load the Mat
Placing the top corners of the mat firmly against the machines rollers, press the ‘load’ button on top of the machine.
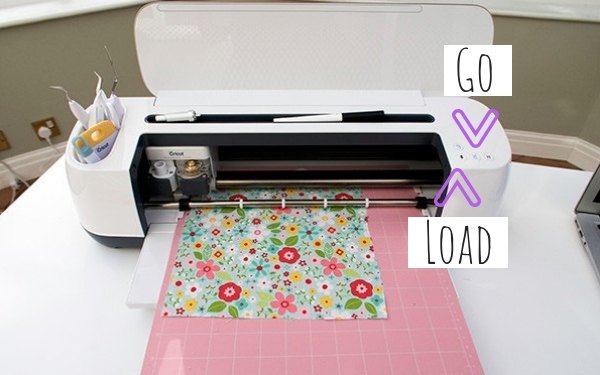
The machine will then automatically load the mat and calibrate itself to the material settings that you chose earlier.
Once it’s loaded, the Cricut Go button will start flashing green — press it!
Weed Your Cuts
Once the Maker has finished cutting, press the load button on the top of the machine in order to unload the mat.
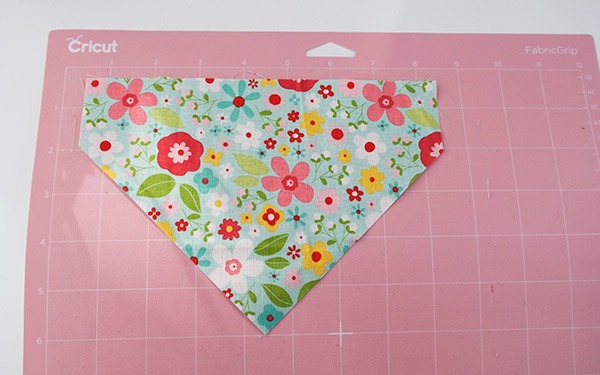
You will then need to ‘weed’ the cut portion of your fabric away from the excess. Unlike with vinyl where you would typically use a weeding tool, we find the best way to weed fabric is simply to press down gently on the middle of the piece and peel away from the left hand corner.
You should be left with something like this:
Repeat for the Double Side
And now it’s time to do it all again for the other side!
You know the drill…
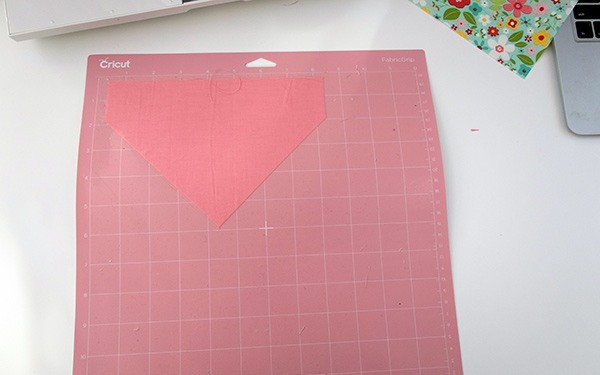
And that should leave you with two pieces of identically sized fabric:
Sew Them Together
Place the two pieces together, with the patterned side facing out, and sew across the top edge and the two bottom edges where the washable fabric pen has marked — that’s about 3/8 of an inch in from the seam.
Make sure that you leave the two short sides open — that’s where we’re going to slip through the dog’s collar!
The best way to do this is undoubtedly with a sewing machine, but unfortunately for our intern, she didn’t have one available for this project.
Hand sewing it is then….

Once you’ve sewn the sides together, you’ll need to topstitch across a straight line through the middle of the necktie, from the bottom of one of the short sides to the other.
This creates the pocket through which the collar will loop through.
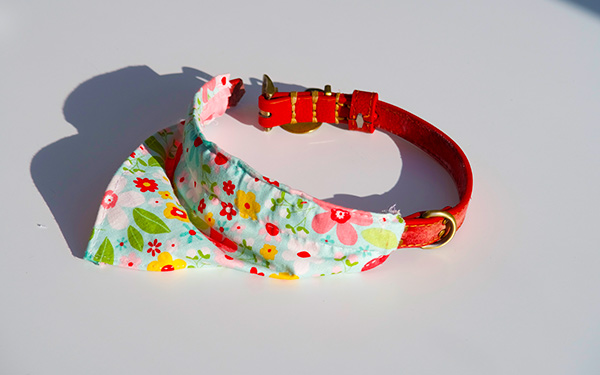
Loop the Collar Through
Now all you need to do is push the collar through the pocket you’ve created in the necktie.
And, ta-dah!
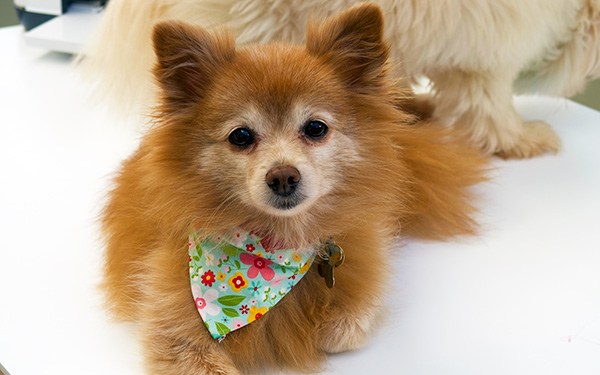
Dog Modeling Sensation
And now, of course, it’s time for your dog to really show off their new neckwear.
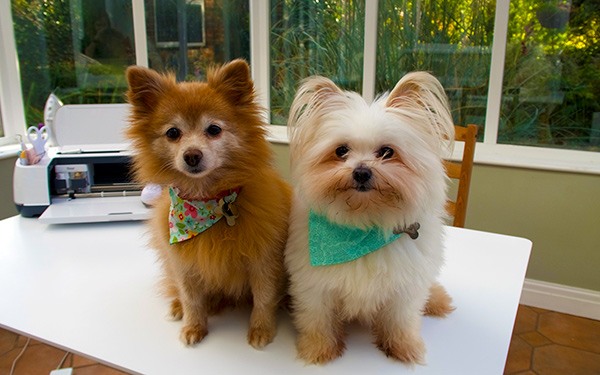
Check out Pancakes rocking her new necktie:
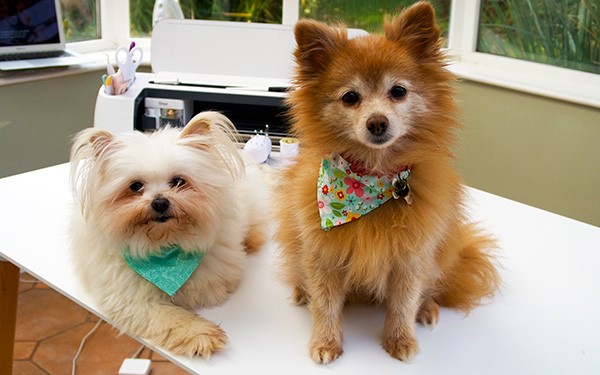
And here’s her brother (from another mother), Waffles, styling out a paisley patterned one we made earlier:
And there you have it, a super simple, super cute, dog necktie tutorial with the Cricut Maker!
Video Instructions
Check out our YouTube video of our intern having a go at this Cricut Maker project for beginners:
What’s your favorite Cricut Maker project for beginners?
For more tutorials and guides aimed at helping you get the most out of your machine, be sure to visit our How To section.